At The App Founders, we create top-notch products with great user interfaces. Our talented team in web and mobile development connects creativity with technology, turning our solutions into inspiring tech brands.
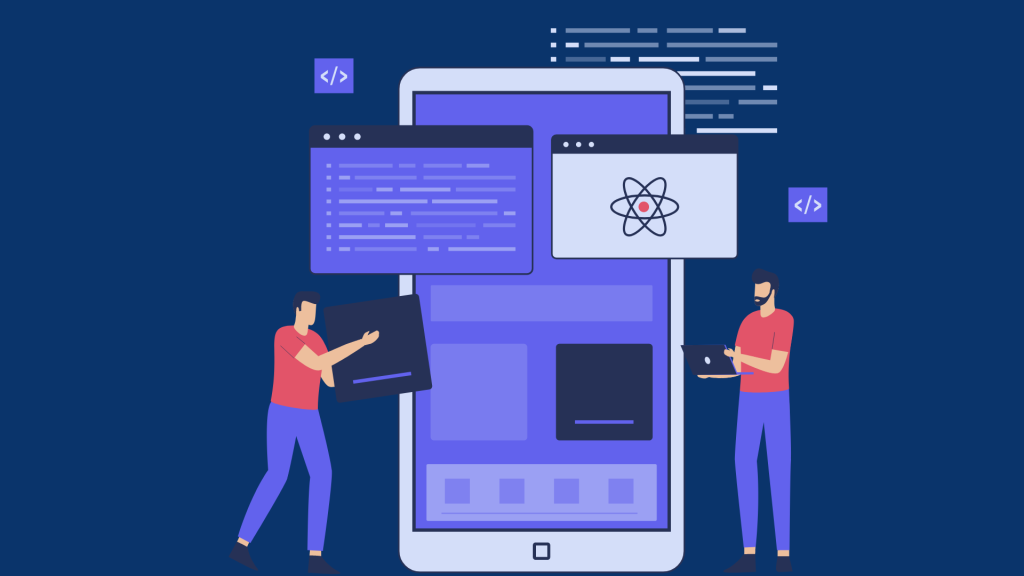
Are you excited to learn how to take your awesome React app and share it with the world? Learn more about the best mobile app development tools in 2023 for your project. Buckle up because we’ll embark on a step-by-step journey to deploy your React app. Don’t worry if you’re not a coding expert. The App Founders‘ experts will help you out with this guide. So, let’s dive in and learn how to deploy react app simply!
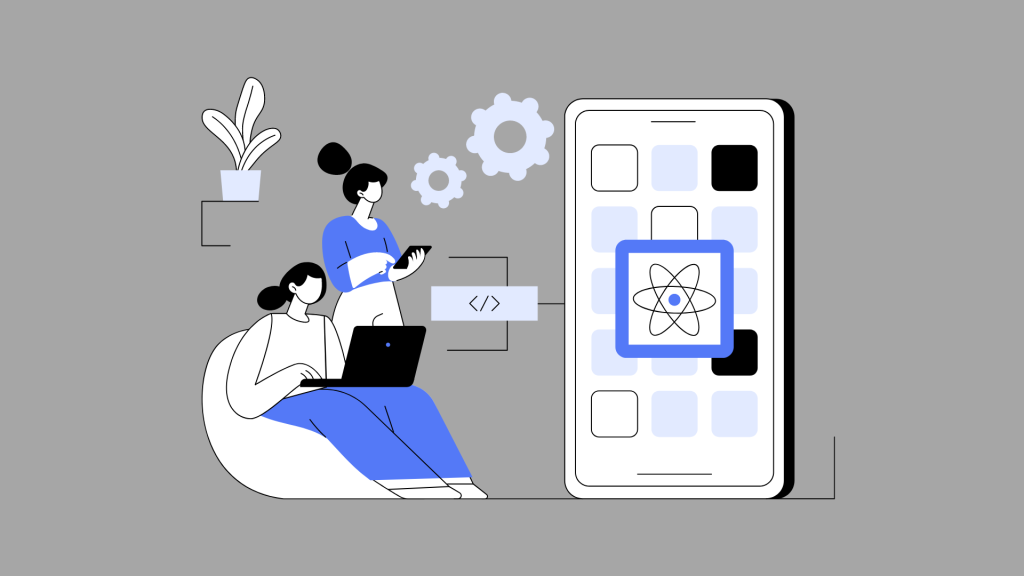
Before diving into the cool world of deploying, let’s ensure your React app is all set to strut its stuff. You might be wondering, “What’s a React app anyway?” Think of it like a digital playground where your ideas come to life online, similar to frontend simplified: mastering user interfaces.
Gather up all the files and codes you’ve been working on. Imagine your React app is like a puzzle; these files are the pieces. You want to ensure you have all the pieces before building, right? Well, the same goes for your app.
Ensure you have all your pictures, buttons, and codes ready to roll. If you’ve been giving it your best shot, you’re ready to move on to the next step!
Step 2: Picking a Place to Deploy
In Step 2, we’re diving into the big decision-making stuff. Like you choose your spot in the lunchroom, your React app needs a spot on the internet to call home. We call this spot a ‘hosting platform.’ It’s like a digital house where your app can live and be visited by people worldwide.
For this guide, we will use a hosting platform called “Netlify.” It’s like a friendly cloud that loves to help you share your app with the universe. Just like you might choose a cozy corner of the playground, we’re picking Netlify as our cozy corner on the internet. This is where your app will shine; everyone can play with it.
Step 3: Sign Up and Sign In
So Step 3 is all about setting up camp in the digital world. Head to the Netlify website –the gateway to your app’s new home. However, Don’t worry; signing up is as easy as tying your shoelaces.
Once you’ve signed up, it’s time to strut your stuff by signing in, much like navigating the risks: dealing with untrusted enterprise developers. Remember your username and password, like you remember the secret hideout password with your best buddies. Now, you’re in the captain’s chair with Netlify’s dashboard right in front of you. Although It might look a bit like a spaceship’s control panel, don’t fret – you’re the commander-in-chief of your app’s journey to the stars!
Step 4: Import Your React App
Alright, code conquerors, it’s time for Step 4 –when your app meets its new digital home.
On the Netlify dashboard, you’ll spot a button that says “New Site from Git.” Give it a little click, and get ready to work some magic.
Think of this step as inviting all your friends to your birthday bash. You’re inviting your app to join the Netlify party!
Follow the simple instructions to connect your app – it’s like giving it a special invitation. The app’s files and codes are like your party decorations, and Netlify is the perfect host, ensuring everything looks fantastic.
Your React app is now connected to Netlify, and the real fun begins. It’s like launching your spaceship into the coding cosmos – except this time, you’re in control of the journey! You’re almost ready to show off your app to the world, thanks to your coding skills and Netlify’s helping hand.
Step 5: Build and Deploy
In Step 5, the stage is set for the grand performance. After your app and Netlify become best buddies, it’s time to build the magic. Think of this step like baking cookies – you’ve got all the ingredients; now it’s time to put them together and let the deliciousness happen.
Netlify will ask you to pick a special place, called a ‘repository,’ for your app’s stuff, a concept explored in which of the following is not a type of productivity software application. It’s like finding a cozy nook for your toys after a playtime session. So, Choose the repository where you’ve been crafting your app’s masterpiece. Additionally, Get ready for the big moment because here comes the “Deploy React App” moment!
Netlify transforms your app’s ingredients – the codes, pictures, and all the cool stuff you’ve made – into a real digital treat. It’s like turning raw dough into delicious cookies. Your app becomes all fancy and ready for the world to see. It’s a bit like the magical transformation in your favorite fairy tales, but your coding skills make the magic happen this time!
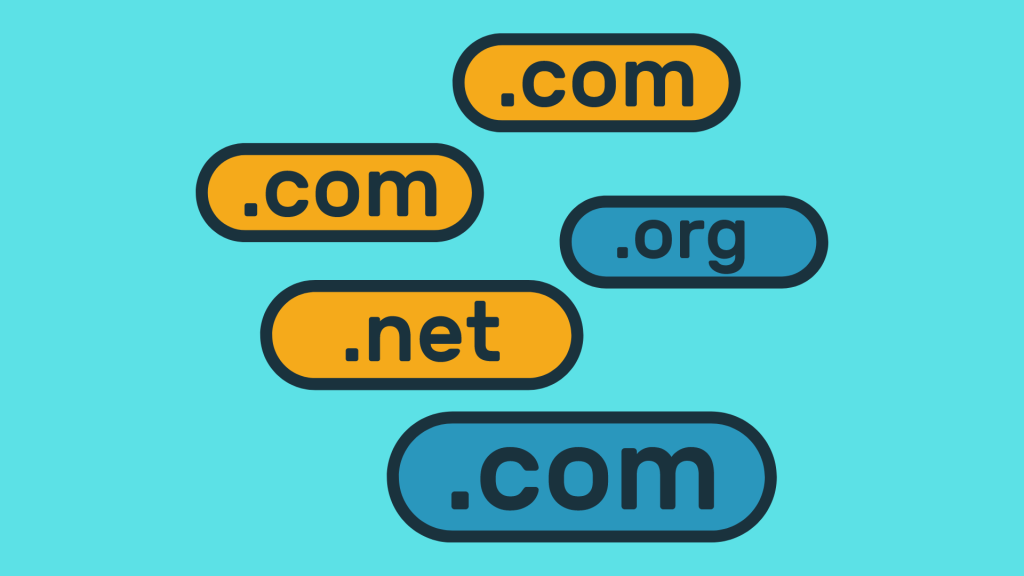
Step 6: Name Your Domain
now Step 6 is where your app gets its fancy web address, also known as a “domain.” It’s like giving your app its street address in the digital neighborhood. Additionally, Netlify might give your app a cool address like “super-cool-app.netlify.app.” But if you want your app to have a unique address that screams “you,” you can change it.
However, Remember, just like you have a favorite username for your video games, your app’s domain is its online identity. Choose a name that makes your app stand out, just like a superhero’s costume! Consider app store optimization tools: an overview of the essential tools for better visibility. It’s time for your app to shine in the vast world of product design and website development. So pick a domain that’s as awesome as your coding skills.
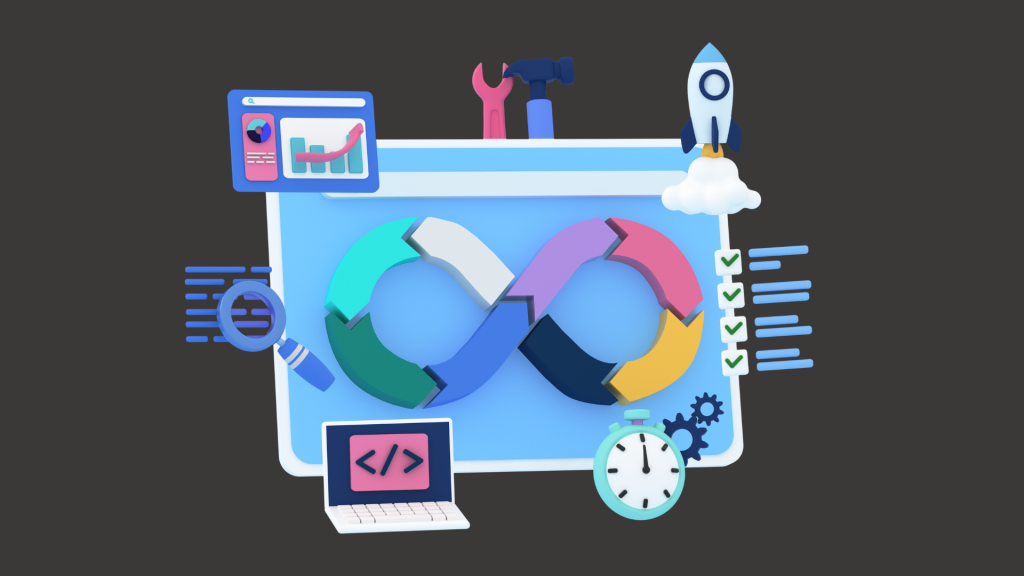
Step 7: Deploy Again and Again!
Now Guess what? Deploying once is not enough. It’s similar to the concept of continuous integration and deployment in software development, ensuring your app stays updated. You must let the world know every time you make your app even cooler. Luckily, Netlify is also your best friend here. When you update your app’s code, just “Deploy React App” on Netlify again. It’s like showing off your new toys to your pals.
Step 8: Enjoy Your App
Firstly, the fun part comes: sharing your app with friends, family, and maybe even your pet goldfish! Open a web browser and type in your app’s cool domain. Ta-da! Your app will appear, showing off all your hard work. You’re officially a coder who knows how to deploy react apps like a pro!
Gather all puzzle pieces (files and codes) to ensure your React app is ready for the journey.
Imagine your React app as a puzzle; gather all the pieces before building – like preparing for a grand adventure.
2. Choose Deployment Spot
Select a hosting platform (e.g., Netlify) as the digital house for your app, a cozy corner on the internet.
Choosing a spot in the lunchroom; your app needs a place to call home, just like picking a cozy corner on the playground.
3. Set Up Digital Camp
Sign up on the hosting platform (e.g., Netlify), set up camp in the digital world like tying shoelaces.
Setting up camp in the digital world is as easy as tying shoelaces – a simple but essential step to embark on the journey.
4. Invite App to the Party
On the platform dashboard, click “New Site from Git” to invite your app to the hosting platform party.
Inviting your app to join a party is like connecting it to the hosting platform – a special invitation for a digital celebration.
5. Build the Digital Magic
After connecting, build the magic by selecting a repository and deploying the app on the hosting platform.
Building the digital magic is akin to baking cookies – combining ingredients (codes) to transform your app into a digital treat.
6. Name Your Digital Home
Choose a domain for your app – its fancy web address in the digital neighborhood, giving it an online identity.
Naming your domain is like giving your app a street address, a unique online identity, much like choosing a superhero’s costume.
7. Deploy Updates
Deploy your app again and again to keep it updated, similar to continuous integration in software development.
Deploying updates is essential, akin to letting the world know every time you make your app cooler – like showing off new toys to pals.
8. Share and Enjoy
Share your app with friends and family by opening a web browser and enjoying the results of your hard work.
Sharing and enjoying your app is the fun part – like presenting your creation to friends, family, and even your pet goldfish!
Conclusion:
Learning how to deploy a react app is just the start of your coding adventure. You can do endless things to make your app even more amazing. Keep exploring, learning, and trying new things. The coding world is your playground, and the possibilities are as big as your imagination!
You’ve just learned how to deploy react app with style. Remember, it’s not about being a coding wizard from day one – it’s about having fun, exploring, and learning along the way. Netlify is your trusty sidekick in this adventure, ensuring your app gets the spotlight it deserves. So go on, take your app live, and show the world what you’ve got. Your coding journey has officially begun! Keep learning with resources like 12 best game development books: definitive ranking for more insights.
Search blogs
Explore our blog archive for valuable insights and expert advice.