When you first get a new Android device, you might notice an app called “Setup” on your home screen. This app is responsible for guiding you through the initial setup process of your device, including configuring your language, time zone, Wi-Fi connection, and more.
But that’s not all this setup app can do. In this article, we’ll explore the different features of the Android Setup app and how it can assist you in getting the most out of your device.
What is an Android setup app?
An Android app is the first you open when you buy or reset your phone. You’ll be prompted to set up the phone for the first time to enter your Google account, sign in and set up a PIN.
The basic idea of this system is to help users get started with their devices. This makes it easier for people new to Android phones to get going without problems.
The first thing you’ll notice about the setup app is that it’s very simple. There are only a few screens to go through. Moreover, it doesn’t take long before you’re ready to start with your phone. The app will ask you some basic information about yourself, including your name and birthday so that Google can personalize searches on your device.
Read Also:
How Mobile Apps Are Beneficial For the Education Industry?
Running an Android Setup App: A Step-by-Step Guide
You’ll need to go through the initial setup process if you’ve just purchased a new Android device or reset your old one to its factory settings. This process can be daunting for some, but it’s a breeze with this app. In this section, The App Founders experts will walk you through the process of running the app.
Step 1: Power on your device

To set up your new Android device, you need to power it on, as detailed in the Step-by-Step Guide on Mobile App Development in 2023. Keep on pressing and holding the power button until the device turns on. If your device has a SIM card, ensure it’s inserted correctly before turning it on.
Step 2: Choose your language
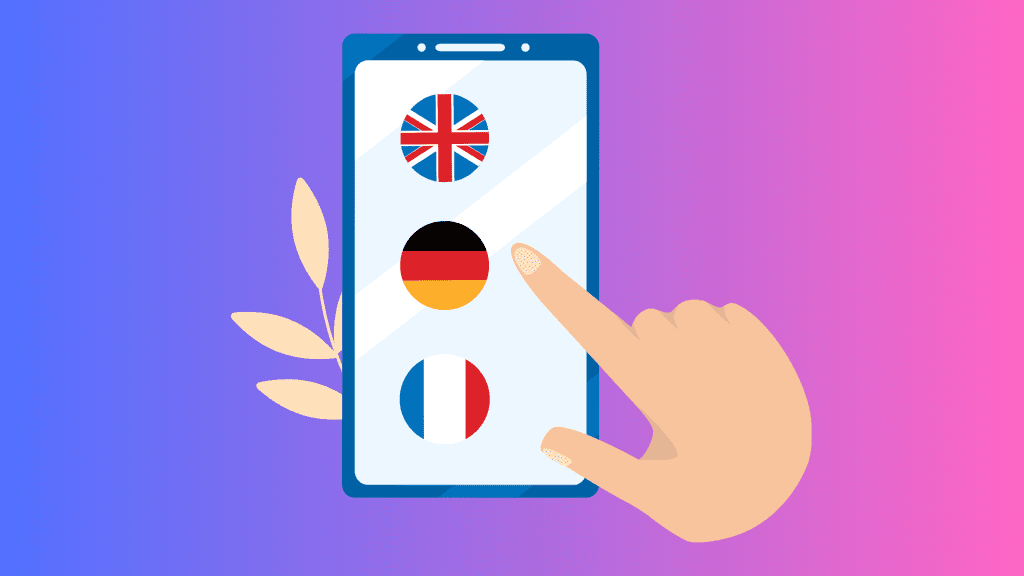
Once your device is powered on, you’ll be prompted to choose your preferred language. Scroll through the list of languages available, and select the one you want to use. Then tap the “Start” button to begin the setup process.
Step 3: Connect to Wi-Fi
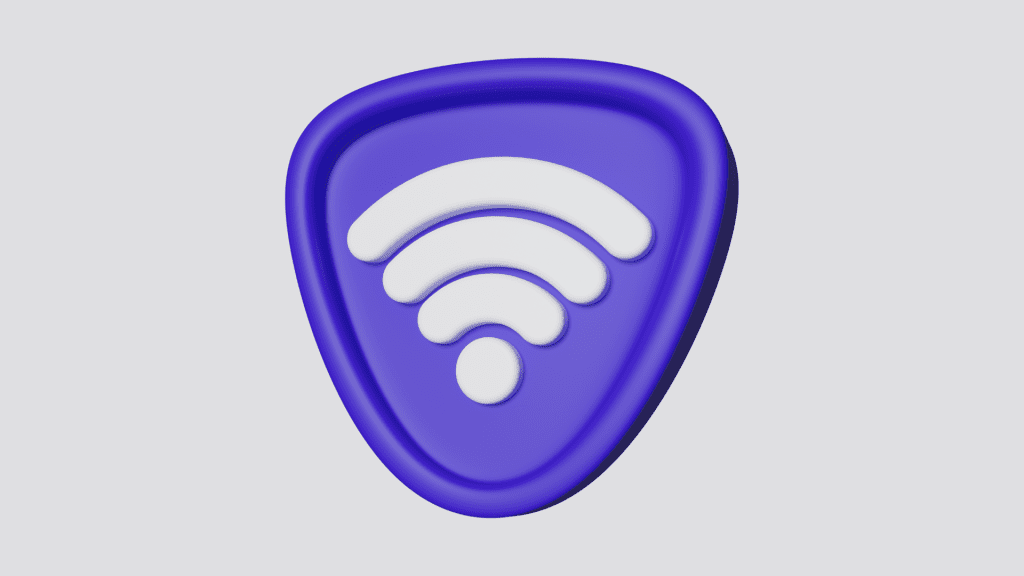
The next step is to connect your device to a Wi-Fi network. This is important because it ensures a stable internet connection for your device. Select the Wi-Fi network of your choice by tapping it and entering the password. If you don’t have access to a Wi-Fi network, you can skip this step and connect to a mobile network later.
Step 4: Sign in to your Google account

To access the Google Play Store and other Google services, you must sign in to your Google account. If you already have a Google account, tap “Yes” and enter your email and password. If you don’t have a Google account, tap “No” and follow the instructions to create one.
Step 5: Set up device security
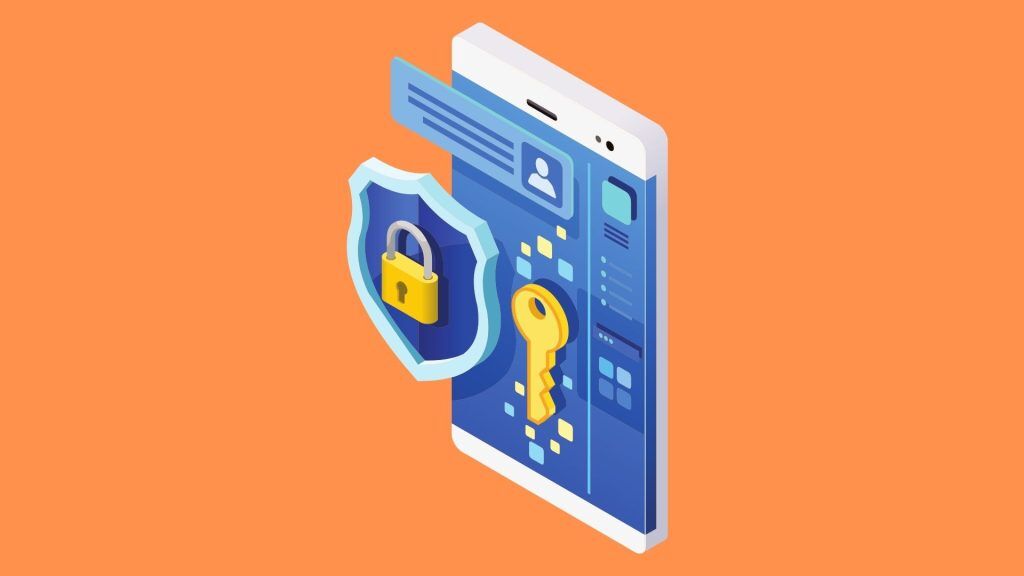
Setting up a screen lock is essential to protect your device from unauthorized access, a topic further explored in Mobile App Security. You can choose from various screen locks options, such as pattern, PIN, or password. Follow the instructions to set up your preferred screen lock.
Step 6: Customize your settings
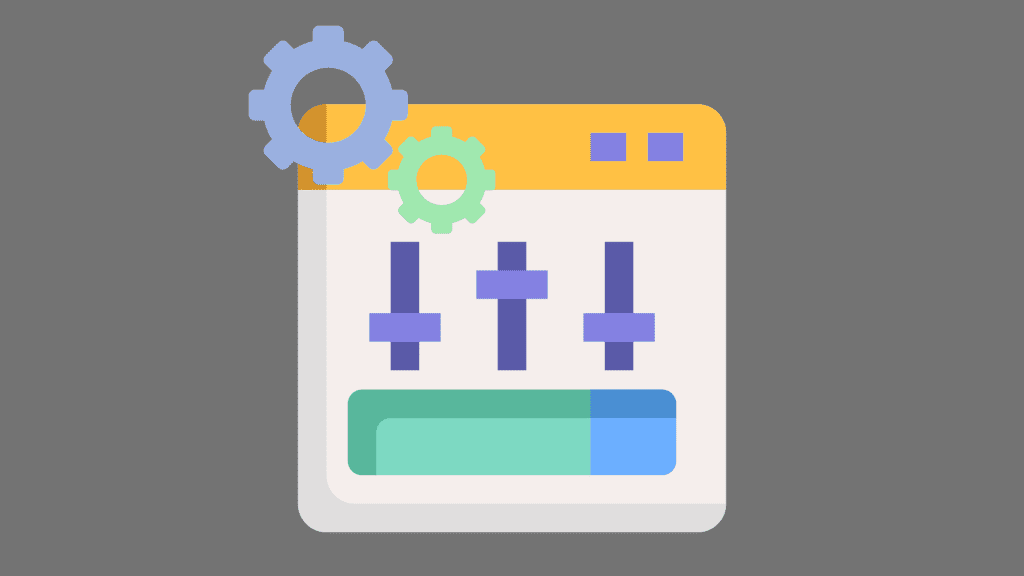
After setting up device security, you’ll be prompted to customize additional settings such as date and time, sound, display, and more. You can choose your preferred settings by tapping on the options provided. Review each option carefully to ensure your device is set up exactly how you want it.
Step 7: Transfer your data
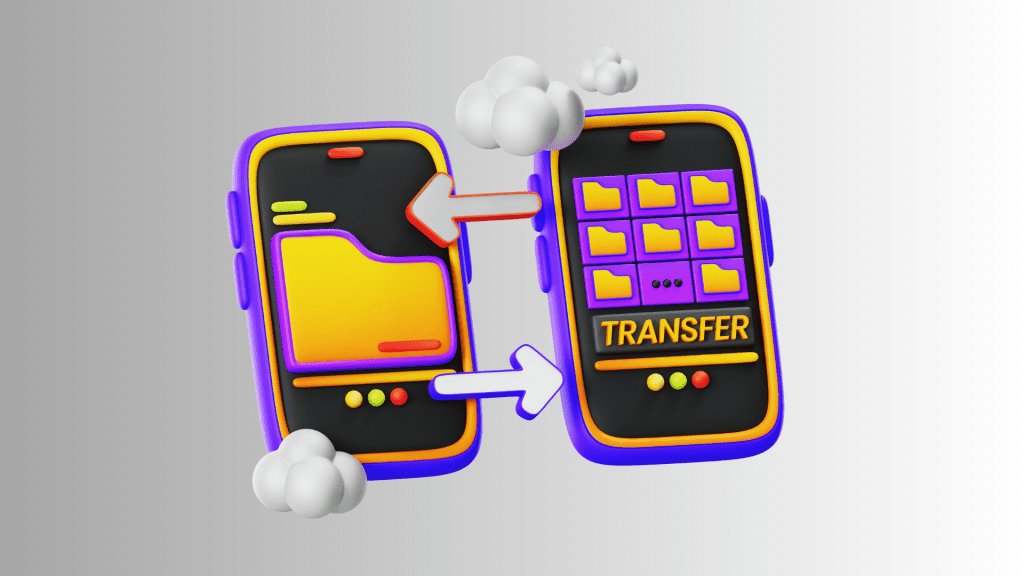
If you’re switching from an old Android device, you can use the Setup app to transfer your data seamlessly, ensuring a smooth transition as discussed in Mobile App Development Cost Estimation. To do this, tap “Copy your data” and follow the instructions to connect your old device to your new one. Using this method, you can transfer your contacts, photos, messages, and other data.
Step 8: Enable location services
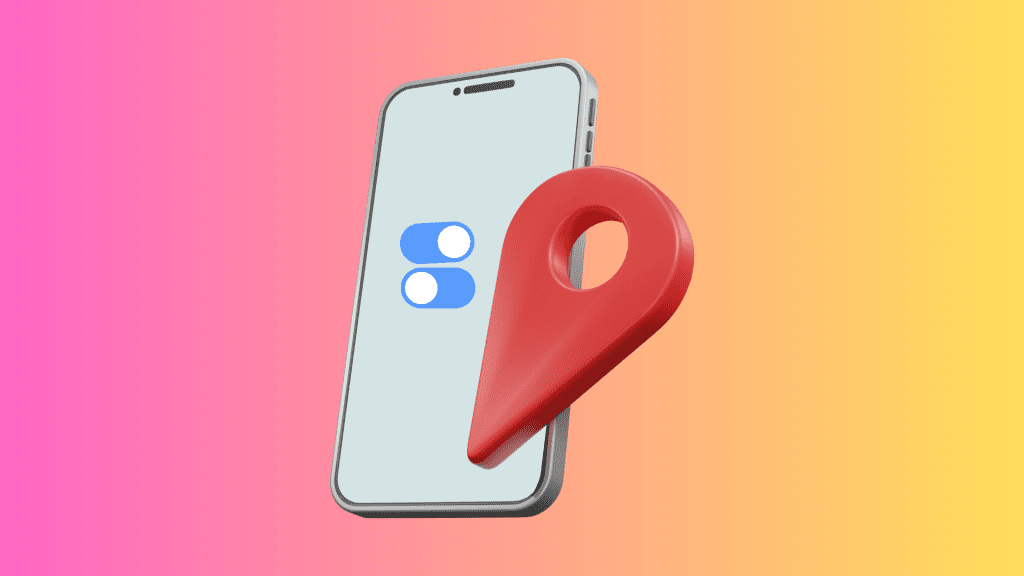
You can choose to enable or disable location services during the setup process. Location services allow apps to access your device’s location, which can be helpful for navigation and other services. However, enabling location services can also compromise your privacy. Choose your preferred option carefully.
Step 9: Finish the setup process

Once you’ve completed all the setup steps, tap “Finish” to complete the setup process. Your device will then be ready to use. Congratulations, you’ve successfully set up your new Android device!
Tips and Tricks for Running the Android Setup App
To smoothly run your set-up app, here are a few tips and tricks that you can follow:
1. Keep your device fully charged:
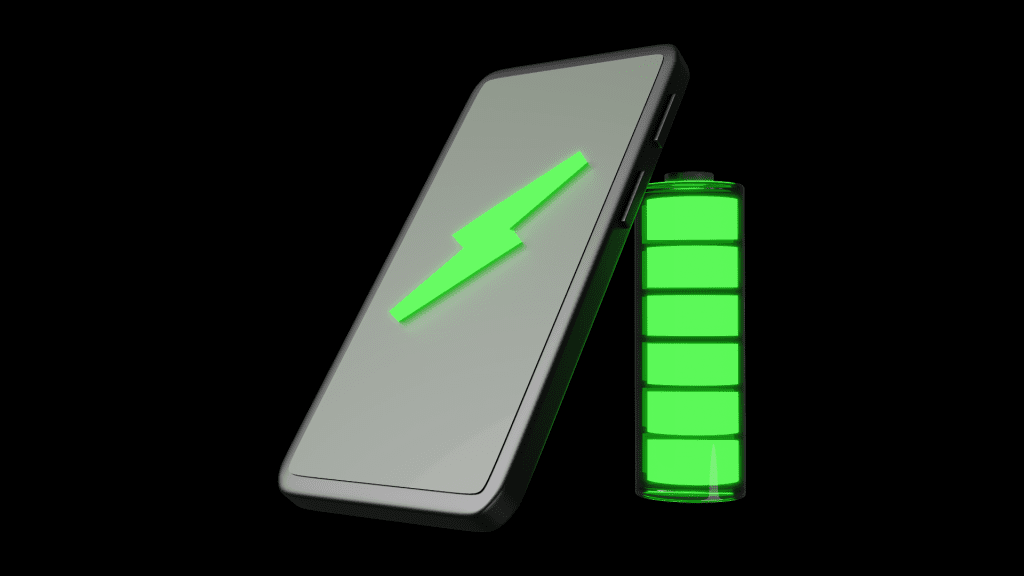
Make sure your device has enough battery life before starting the setup process, a tip that’s part of Mobile App Maintenance. This will prevent your device from shutting down during the setup process.
2. Use a stable internet connection:
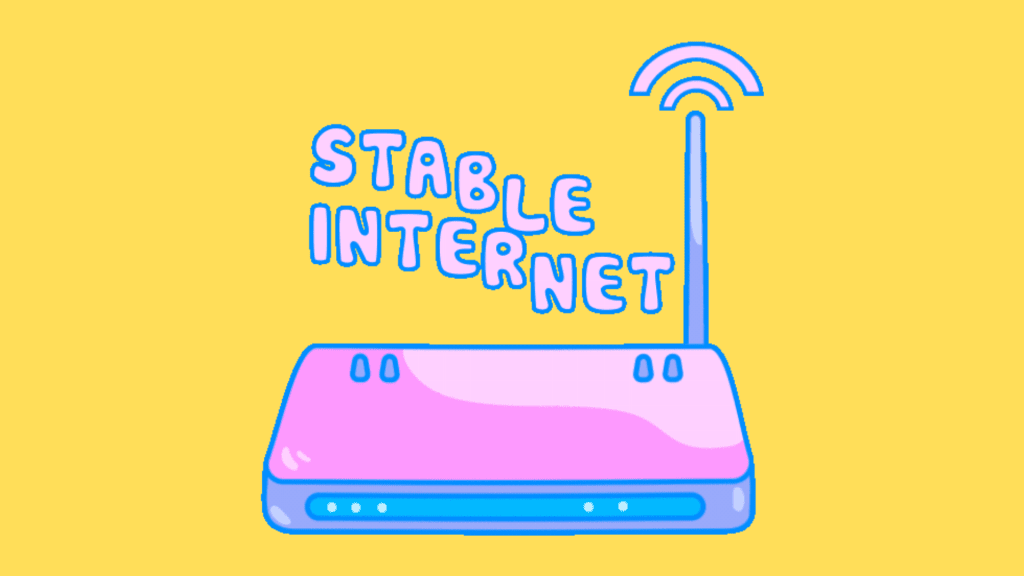
Connecting your device to a stable Wi-Fi network ensures a smooth setup process. This also allows you to download any necessary updates or apps during the setup process.
3. Backup your data:

Before resetting your device or setting up a new device, it’s always a good idea to back up your data. This will prevent you from losing important files and data during setup. You can use cloud storage services to back up your data.
4. Choose strong passwords:
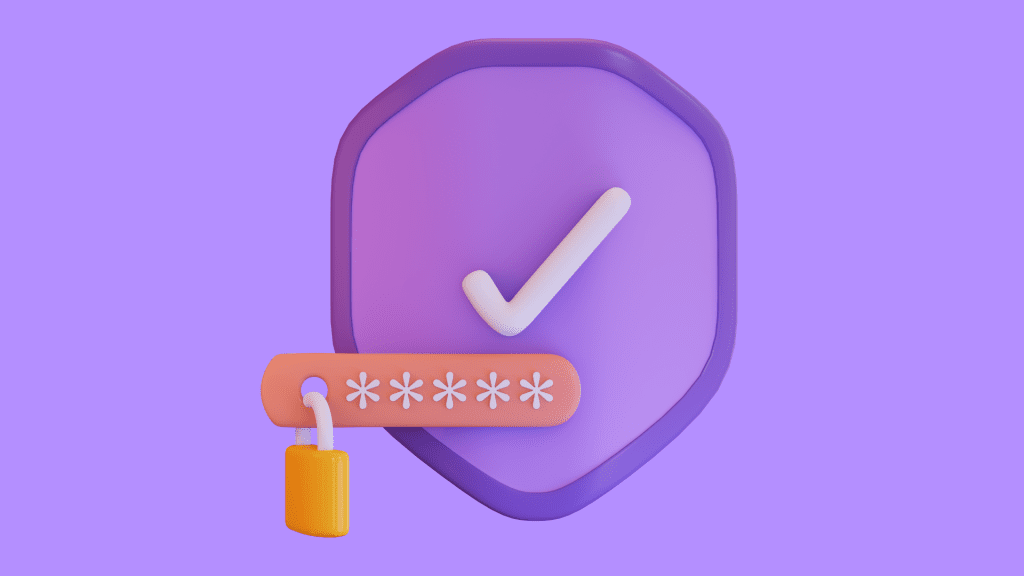
When setting up device security, it’s important to choose strong and difficult passwords that are difficult to guess. Avoid using common passwords like “1234” or “password”, and try to use a different combination of letters, numbers, and symbols.
5. Keep your device up to date:
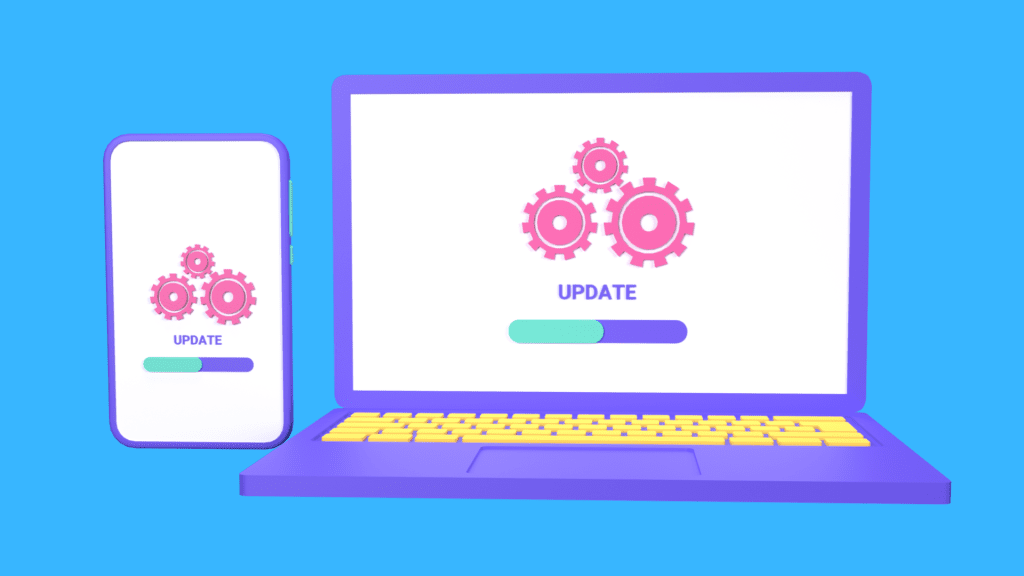
After setting up your device, check for any available updates. These updates often include important security patches and bug fixes that improve your device’s performance.
6. Use a VPN
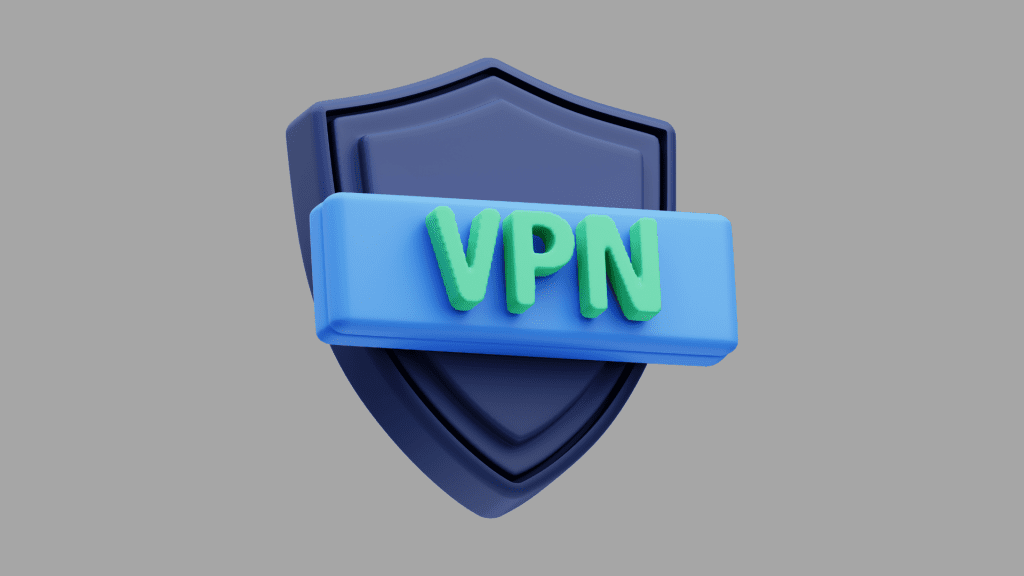
A Virtual Private Network (VPN) is a system that can encrypt your internet traffic and routes it through a secure server. This helps protect your online privacy and prevent unauthorized access to your data.
Using a VPN can also help you access geo-restricted content and bypass internet censorship. You can download a VPN app from the Google Play Store or choose from various third-party options.
Read Also:
Top Trends of Enhancing User Experience in 2022
How To Remove Android Setup App Notifications
Do you find the setup app notifications on your phone irritating? No worries, as there is a simple solution to force-stop the app. Follow these steps to get rid of the notifications:
- Unlock your Android phone and swipe up from the bottom of the screen to access all apps. Open Settings and select “App Management”.
- Tap on the “App list” option and then click the three dots icon in the top corner of the screen.
- Select “Show system”.
- Find and select the “Android Setup” app from the list of apps.
- Tap “Force Stop” and then “Disable”.
However, if you do not want to disable the Android Setup app altogether, you can turn off the notifications from your device’s Settings by following these steps:
- Unlock your Android phone and swipe up from the bottom of the screen to access all apps.
- Go to Settings.
- Select “App Management” and then “App List”.
- Tap the three dots on the upper corner of the screen and select “Show system”.
- Scroll down and find “Android Setup”.
- Tap “Manage Notifications”.
- Turn off the toggle next to the “Allow notifications” option to stop receiving.
Critical Factors Decoded
| Android Setup App Steps | Procedure Details | Tips & Tricks |
| Power on your device | Press and hold the power button to turn on the new Android device. Ensure the SIM card is correctly inserted if applicable. | ✓ Keep the device charged to avoid interruptions. |
| Choose your language | Select your preferred language from the available options to begin the setup process. | ✓ Use a stable internet connection for a smooth setup experience. |
| Connect to Wi-Fi | Connect the device to a Wi-Fi network to establish a stable internet connection. Enter the network password if required. | ✓ Back up important data before initiating setup. |
| Sign in to Google account | Sign in to your Google account to access Google services like the Play Store. Create an account if you don’t have one. | ✓ Choose strong passwords for device security. |
| Set up device security | Choose and set up a screen lock method (pattern, PIN, password) to secure the device. | ✓ Regularly update your device for improved performance. |
| Customize device settings | Personalize settings such as date, time, sound, and display according to your preferences. | ✓ Utilize a Virtual Private Network (VPN) for enhanced privacy. |
| Transfer your data | Use the app to transfer data seamlessly from an old Android device to the new one. Follow on-screen instructions. | ✓ Ensure device security by regularly checking for updates. |
| Enable location services | Choose whether to enable or disable location services for your device. Consider the privacy implications. | ✓ Force-stop or disable app notifications if unwanted. |
| Finish setup process | Once all setup steps are completed, tap “Finish” to finalize the setup process. | ✓ Access the Setup app through device settings for future adjustments. |
Conclusion
The Setup app is an essential part of the initial setup process of your device. It ensures you don’t miss any important settings and helps you get up and running quickly. Additionally, it allows you to customize your device’s settings, transfer data seamlessly, and secure your device from unauthorized access.
If you’re setting up a new Android device, use the Setup app to get the most out of your device. And if you ever need to revisit the initial setup process, you can access the Setup app through your device’s settings.